13. Using Multiple Cameras
08 - Side Cameras
The simulator captures images from three cameras mounted on the car: a center, right and left camera. That’s because of the issue of recovering from being off-center.
In the simulator, you can weave all over the road and turn recording on and off to record recovery driving. In a real car, however, that’s not really possible. At least not legally.
So in a real car, we’ll have multiple cameras on the vehicle, and we’ll map recovery paths from each camera. For example, if you train the model to associate a given image from the center camera with a left turn, then you could also train the model to associate the corresponding image from the left camera with a somewhat softer left turn. And you could train the model to associate the corresponding image from the right camera with an even harder left turn.
In that way, you can simulate your vehicle being in different positions, somewhat further off the center line. To read more about this approach, see this paper by our friends at NVIDIA that makes use of this technique.

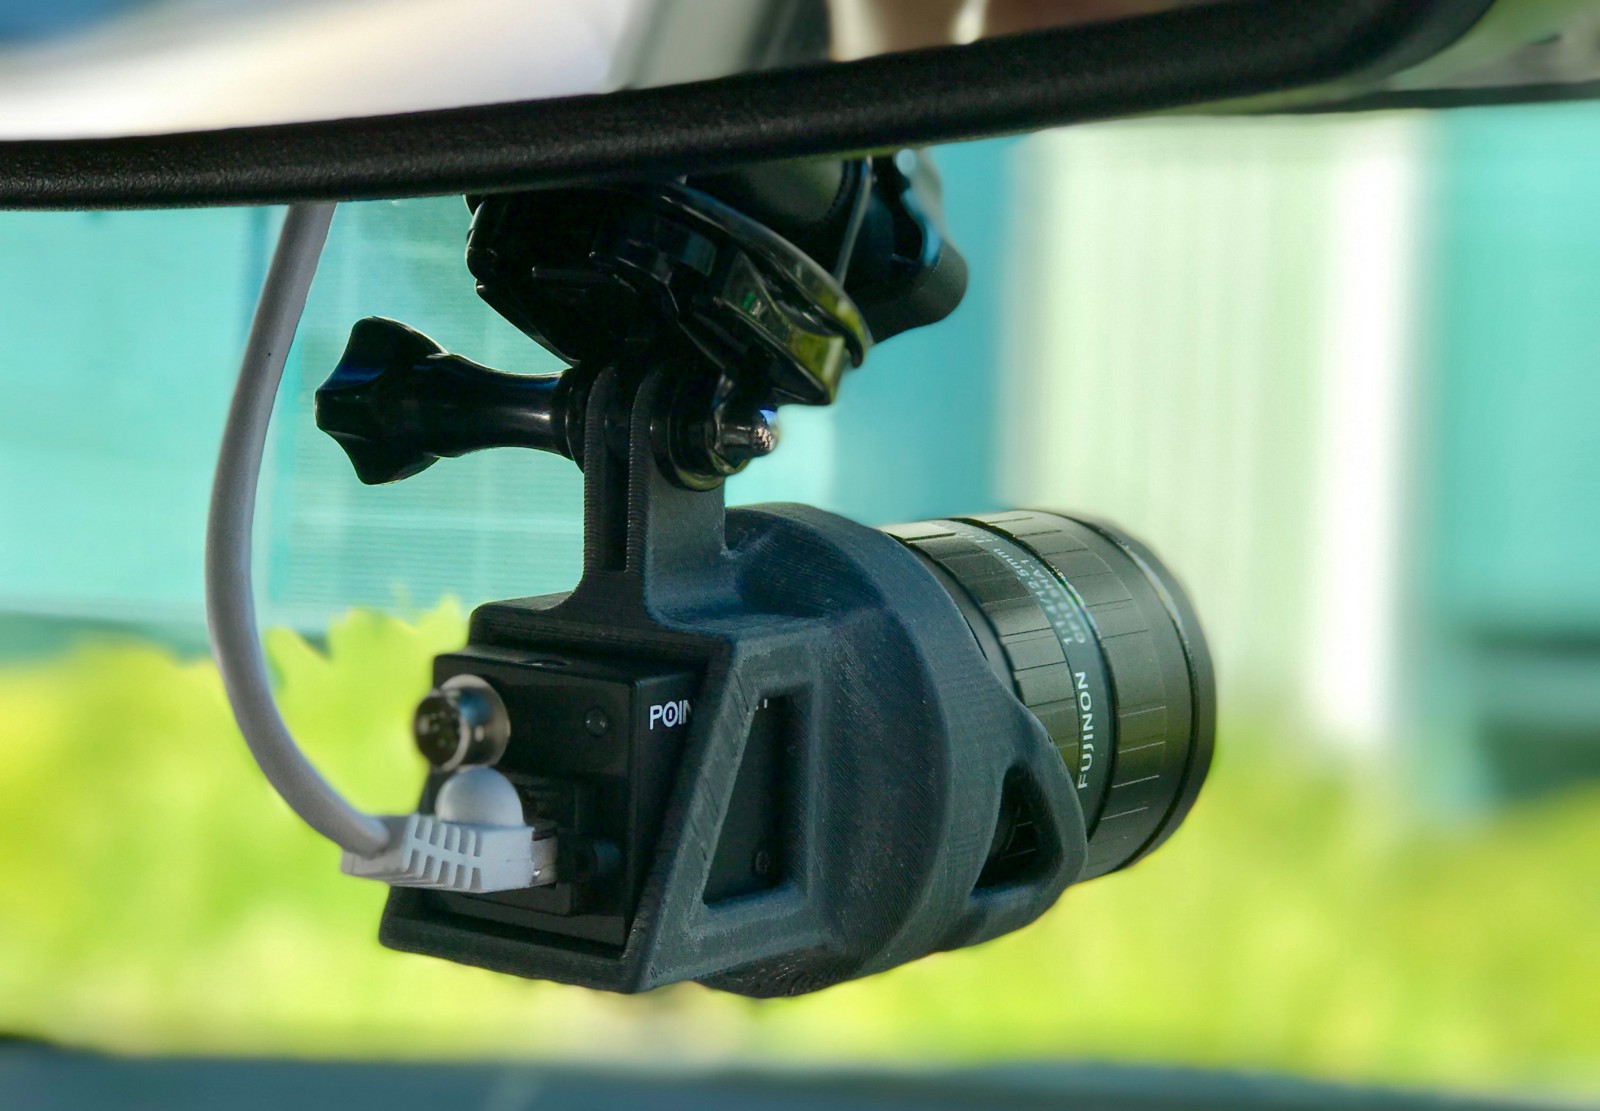
A camera mounted on the Udacity self-driving car.
Explanation of How Multiple Cameras Work
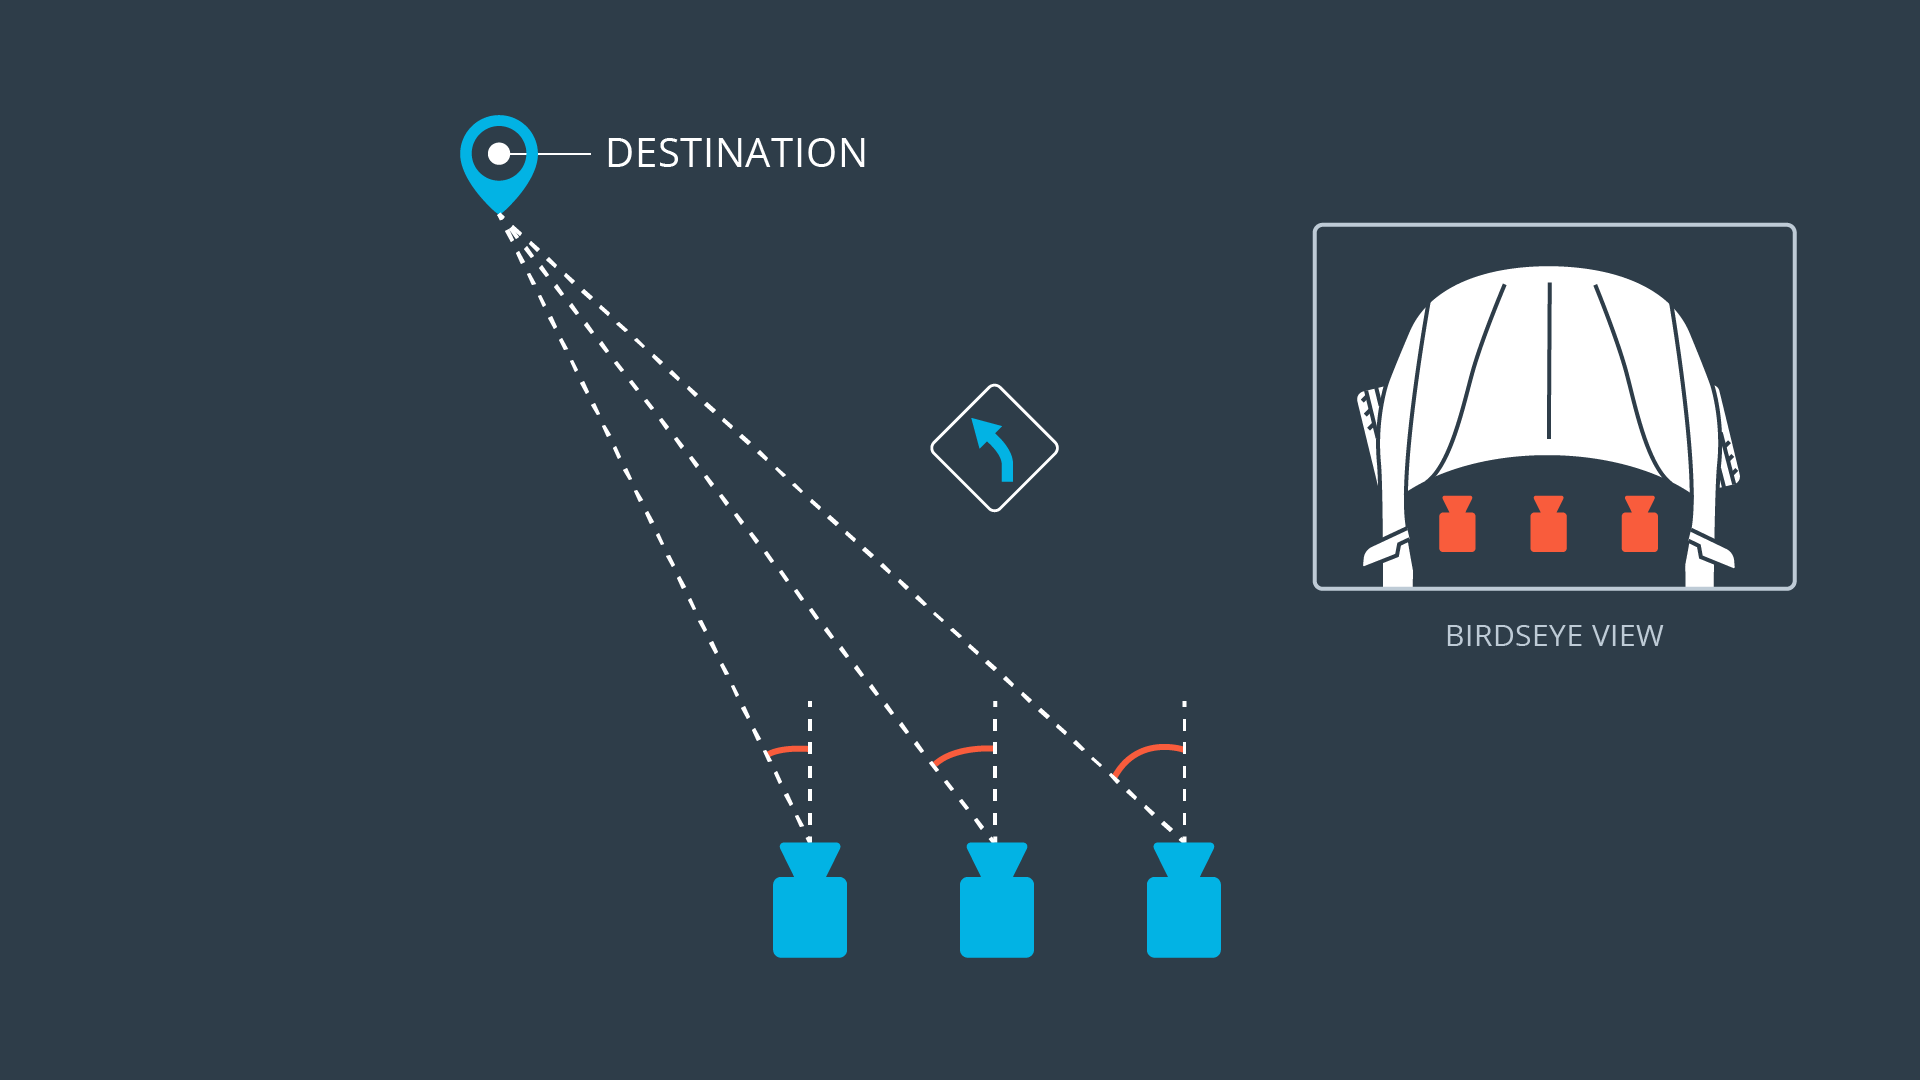
The image below gives a sense for how multiple cameras are used to train a self-driving car. This image shows a bird's-eye perspective of the car. The driver is moving forward but wants to turn towards a destination on the left.
From the perspective of the left camera, the steering angle would be less than the steering angle from the center camera. From the right camera's perspective, the steering angle would be larger than the angle from the center camera. The next section will discuss how this can be implemented in your project although there is no requirement to use the left and right camera images.

Angles between the destination and each camera
Multiple Cameras in This Project
For this project, recording recoveries from the sides of the road back to center is effective. But it is also possible to use all three camera images to train the model. When recording, the simulator will simultaneously save an image for the left, center and right cameras. Each row of the csv log file,
driving_log.csv
, contains the file path for each camera as well as information about the steering measurement, throttle, brake and speed of the vehicle.
Here is some example code to give an idea of how all three images can be used:
    with open(csv_file, 'r') as f:
        reader = csv.reader(f)
        for row in reader:
            steering_center = float(row[3])

            # create adjusted steering measurements for the side camera images
            correction = 0.2 # this is a parameter to tune
            steering_left = steering_center + correction
            steering_right = steering_center - correction

            # read in images from center, left and right cameras
            path = "..." # fill in the path to your training IMG directory
            img_center = process_image(np.asarray(Image.open(path + row[0])))
            img_left = process_image(np.asarray(Image.open(path + row[1])))
            img_right = process_image(np.asarray(Image.open(path + row[2])))

            # add images and angles to data set
            car_images.extend(img_center, img_left, img_right)
            steering_angles.extend(steering_center, steering_left, steering_right)
During training, you want to feed the left and right camera images to your model as if they were coming from the center camera. This way, you can teach your model how to steer if the car drifts off to the left or the right.
Figuring out how much to add or subtract from the center angle will involve some experimentation.
During prediction (i.e. "autonomous mode"), you only need to predict with the center camera image.
It is not necessary to use the left and right images to derive a successful model. Recording recovery driving from the sides of the road is also effective.